
How to Kayak: A Beginner’s Guide to Your First Day on the Water
Kayaking is one of the easiest water sports to pick up. You don’t need years of practice, expensive gear, or even great balance. If you can sit upright and move your arms, you can learn how to kayak in a single afternoon. This guide walks you through everything – from holding the paddle correctly to paddling in a straight line – so you feel confident before you ever touch the water.
If you’re not sure what type of kayak you’d be sitting in, start with our guide to what a kayak actually is. That post covers sit-on-top vs. sit-inside designs, recreational vs. touring hulls, and how to pick the right one. This post assumes you’ve got a kayak in front of you – rented, borrowed, or provided on a guided tour – and you want to know what to do next.
What You Need to Go Kayaking
Essential Gear
Three things are non-negotiable: a kayak, a paddle, and a personal flotation device (PFD). That’s it. A life jacket is required every time you paddle – no exceptions. The U.S. Coast Guard classifies kayaks as vessels, so federal and state boating laws apply. Most states require you to have a PFD on board, and many require you to actually wear it.
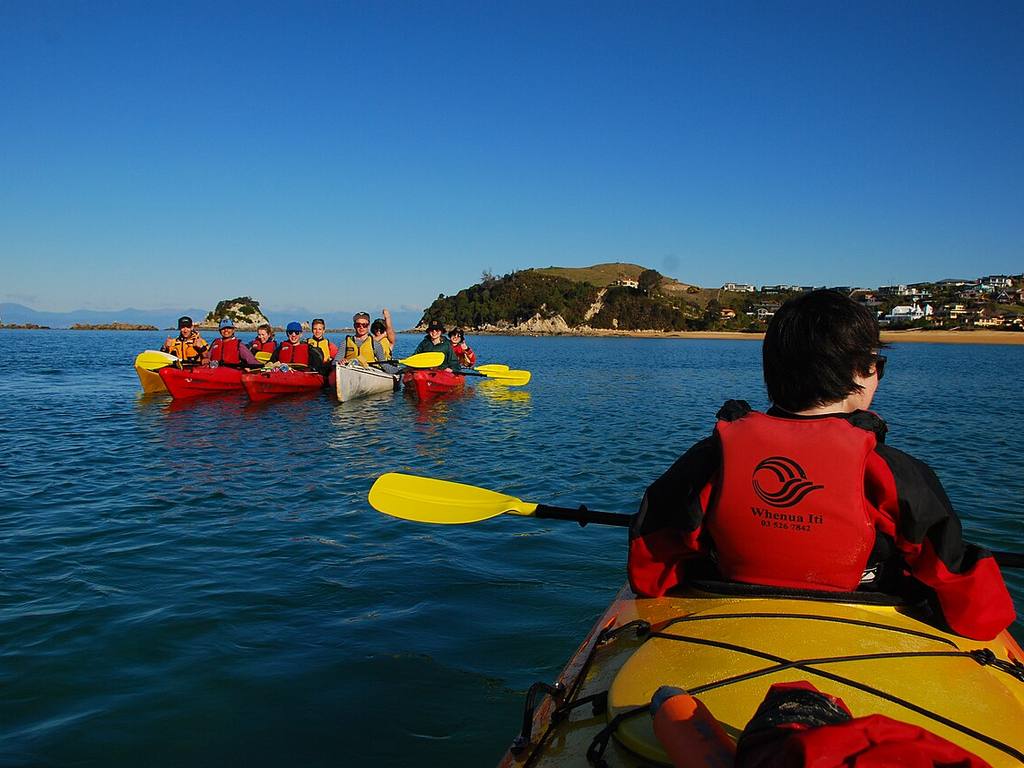
If you’re renting or joining a guided tour, all three items are provided for you. The outfitter will size the paddle to your height and hand you a PFD that fits. You show up, and they handle the rest.
Beyond the big three, a few small extras help: a water bottle, sunscreen, a dry bag for your phone, and sunglasses with a retention strap. That’s the full list. You don’t need to buy a kayak to learn how to kayak.
What to Wear Kayaking
The golden rule is dress for the water temperature, not the air temperature. A sunny 75°F day feels warm on land, but if the water is 55°F and you fall in, cold water shock is a real risk. In cooler conditions, wear a wetsuit or a dry top. In warm water, quick-dry shorts and a moisture-wicking shirt work fine.
Avoid cotton because it absorbs water, gets heavy, and stays cold against your skin. Synthetic fabrics or merino wool dry fast and keep you comfortable. On your feet, water shoes or old sneakers beat flip-flops – you need grip when launching from slippery rocks or muddy banks. A hat with a chin strap and UV-rated sunglasses round things out. You’ll be surprised how much sun reflects off the water.
How to Get In and Out of a Kayak
Getting in gracefully is half the battle. It looks awkward the first time – that’s normal. The key is keeping your weight low and centered.
Launching from a Beach
This is the easiest method for beginners. Place your kayak perpendicular to the shoreline in shallow water – deep enough that the hull floats but shallow enough to stand. Straddle the cockpit, lower yourself onto the seat, then swing your legs in one at a time. Once seated, use your hands or paddle to push off the bottom and glide into deeper water.
An alternative is the sidesaddle entry. Stand beside the kayak, place both hands on the cockpit rim, sit on the edge, then swing your legs in together. Either way, keep your center of gravity low. The moment you stand tall over a kayak, you’re asking to tip.
Launching from a Dock
Docks are trickier because the kayak sits lower than you do. Position the kayak parallel to the dock. Then sit on the dock’s edge right next to the cockpit. Place your paddle across the dock and the kayak to create a brace. Put your feet into the cockpit first, then lower your weight smoothly into the seat. Don’t step in – that puts all your weight on one leg and the kayak will rock.
Getting Back In After a Capsize
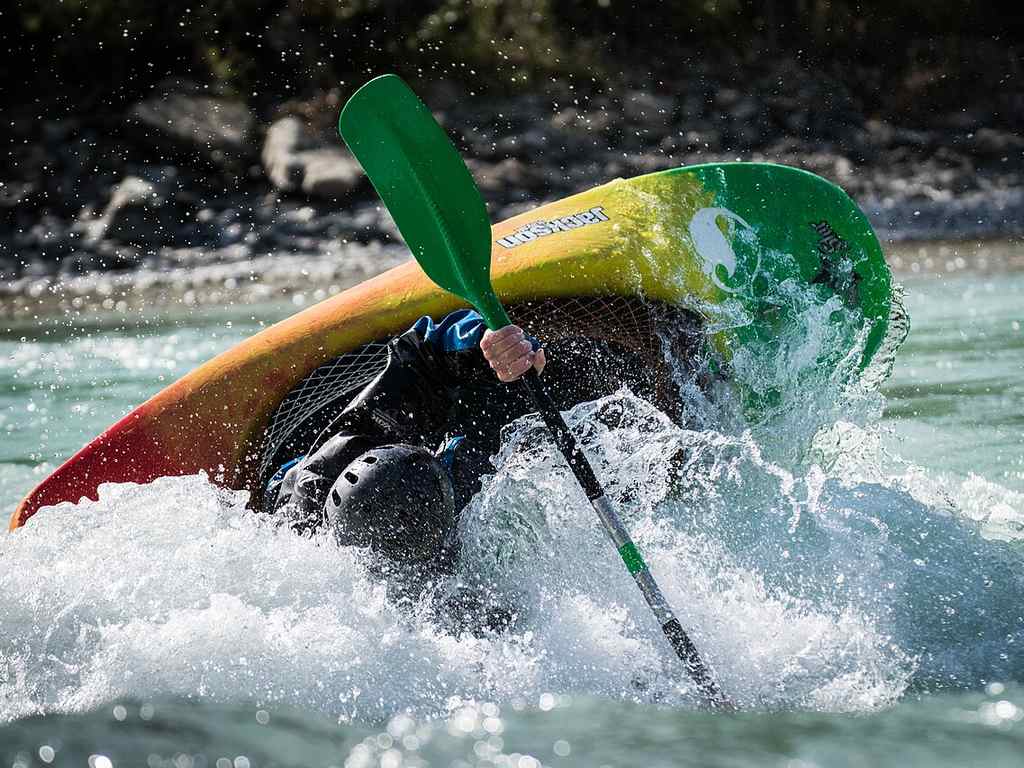
If you’re paddling a sit-on-top kayak – the type most rentals and tours use – capsizing is barely an inconvenience. Flip the kayak right-side up by grabbing the far edge and rolling it toward you. Then approach from the side, grab the far edge with both hands, kick your legs to the surface, and pull yourself belly-first onto the seat.
Swing your legs around, sit up, and keep going. Sit-on-top kayaks are self-draining, so they won’t swamp with water the way a sit-inside hull can. Practice this once in shallow water before heading out – it takes the fear out of falling in entirely.
How to Hold a Kayak Paddle
A kayak paddle has two blades – one on each end – which is what sets it apart from a single-bladed canoe paddle. Holding it correctly makes every stroke easier and prevents wrist strain.
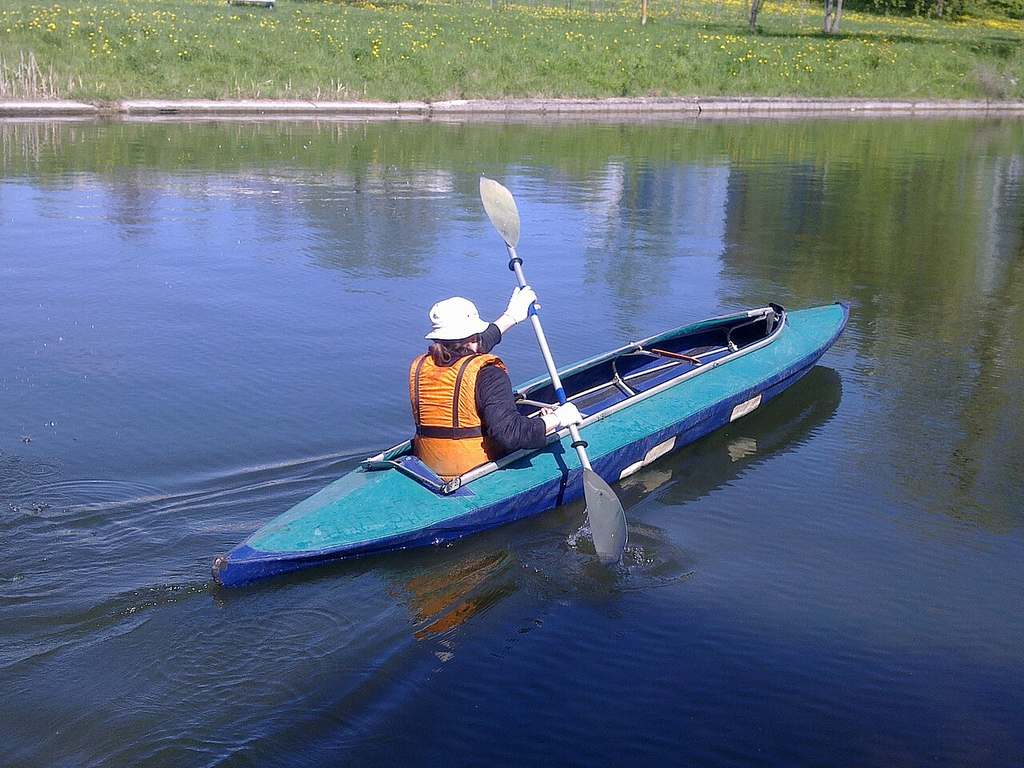
Grip the shaft with both hands slightly wider than shoulder-width apart. When you hold the paddle overhead, your elbows should form roughly 90° angles. That’s your sweet spot. Too narrow and you lose power. Too wide and your shoulders fatigue fast.
Now look at the blades. Most modern kayak paddles have asymmetrical blades – one edge is shorter than the other. The shorter edge goes on the bottom, and the smooth (power) face should scoop toward you during a forward stroke. If your paddle is feathered (the blades are angled relative to each other), your dominant hand stays in a fixed grip while your other hand rotates the shaft slightly between strokes. Don’t overthink this – on a rental paddle, the feather angle is usually minimal or set to zero.
Align your knuckles with the top edge of the blade. This keeps your wrists neutral and makes it easy to feel the blade angle without looking down.
Basic Kayak Strokes Every Beginner Should Know
Three strokes cover 95% of what you’ll do on the water. Master these and you can go anywhere a beginner should be going.
The Forward Stroke
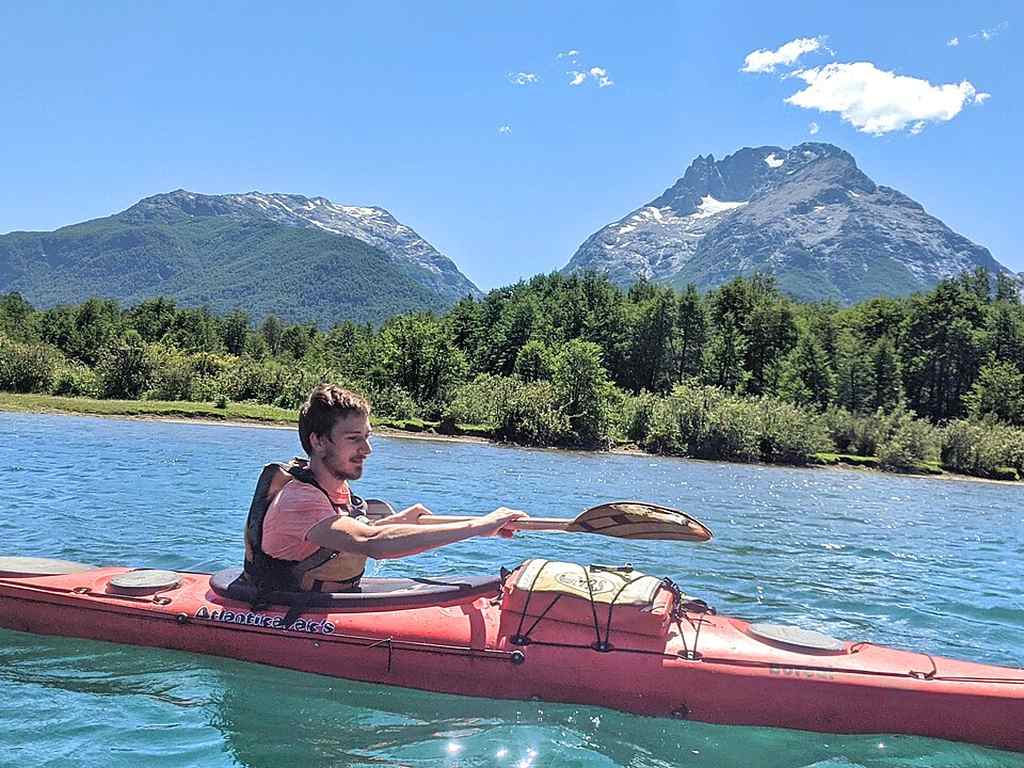
This is your bread and butter. Rotate your torso and plant the blade in the water near your toes – not out in front at arm’s length. Pull the blade straight back along the side of the kayak, keeping it close to the hull. Then lift it out when it reaches your hips. Plant the other blade on the opposite side and repeat.
Here’s the single most important technique tip in this guide: use your core muscles to power the stroke, not your arms. Your torso does the twisting. Your arms are just connectors between your body and the paddle. If you rely on arm strength alone, you’ll be exhausted in 20 minutes. Engage your core, though, and you can paddle for hours.
The Reverse Stroke
This is exactly what it sounds like – a forward stroke in reverse. Drop the blade in near your hip and push it toward your toes. Use the back face of the blade (the non-power side). This stops you or moves you backward. It’s also useful for quick corrections when you veer off course.
The Sweep Stroke
This is how you turn. Instead of pulling the blade straight back along the hull, sweep it in a wide C-shape. Start with the blade near the bow (front), push it out and away from the kayak in a big arc, and finish near the stern (back). A sweep on the right side turns you left. A sweep on the left turns you right. The wider the arc, the sharper the turn.
For gentle course corrections, a half-sweep from the bow to your hip is usually enough. For a tight U-turn, do a full sweep on one side and a reverse sweep on the other at the same time.
How to Paddle a Kayak in a Straight Line
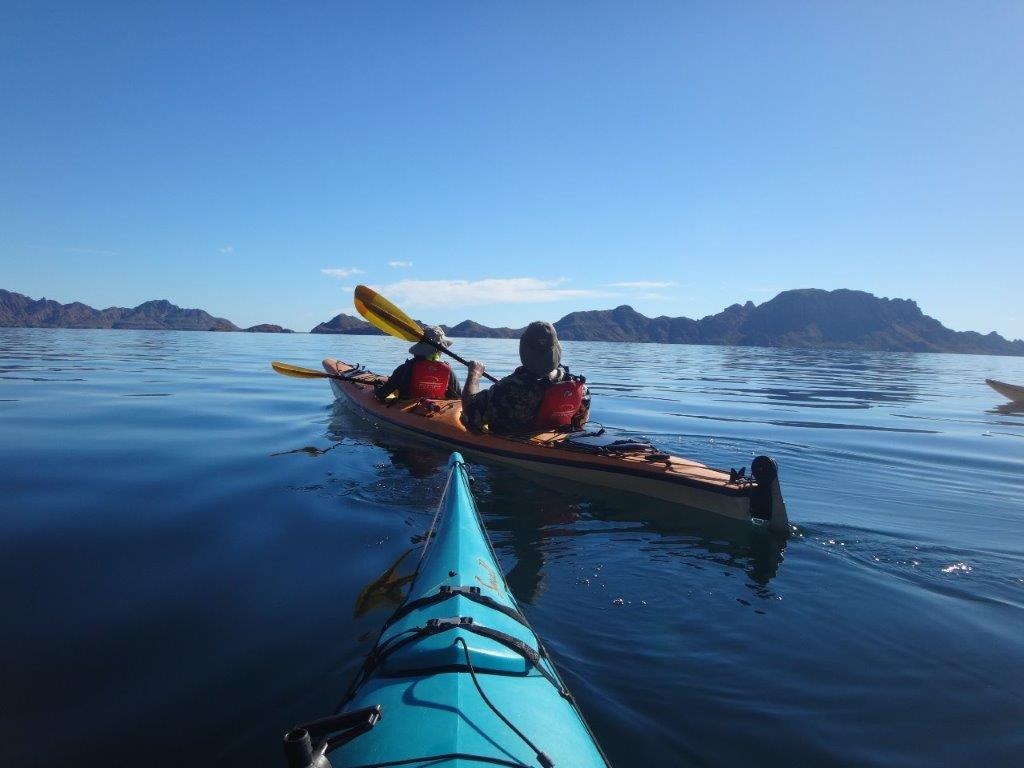
Paddling straight is the number-one frustration for beginners. The kayak zigzags, you overcorrect, and it zigzags the other way. Here’s how to fix it.
- Keep your strokes close to the hull. When the blade enters the water far from the kayak, it acts like a sweep stroke and pulls you off course. Plant the blade close to the boat and pull it straight back.
- Use equal power on both sides. Most people have a dominant arm that naturally pulls harder. Pay attention to matching your effort stroke for stroke. If you notice yourself drifting left, you’re probably pulling harder on the right.
- Set your foot pegs. Place the balls of your feet on the footpegs with a slight bend in your knees. Your legs shouldn’t be fully extended or scrunched up. Proper foot contact gives you a stable base and lets your torso rotation transfer power to the paddle efficiently.
- Avoid two common mistakes. First, don’t over-reach on the catch – planting the blade too far forward forces a long, wobbly stroke. Second, don’t “arm paddle.” If your shoulders and biceps are burning but your core feels fine, you’re not rotating your torso enough. Reset, sit up tall, and twist from the waist.
Kayaking Safety Tips for Beginners
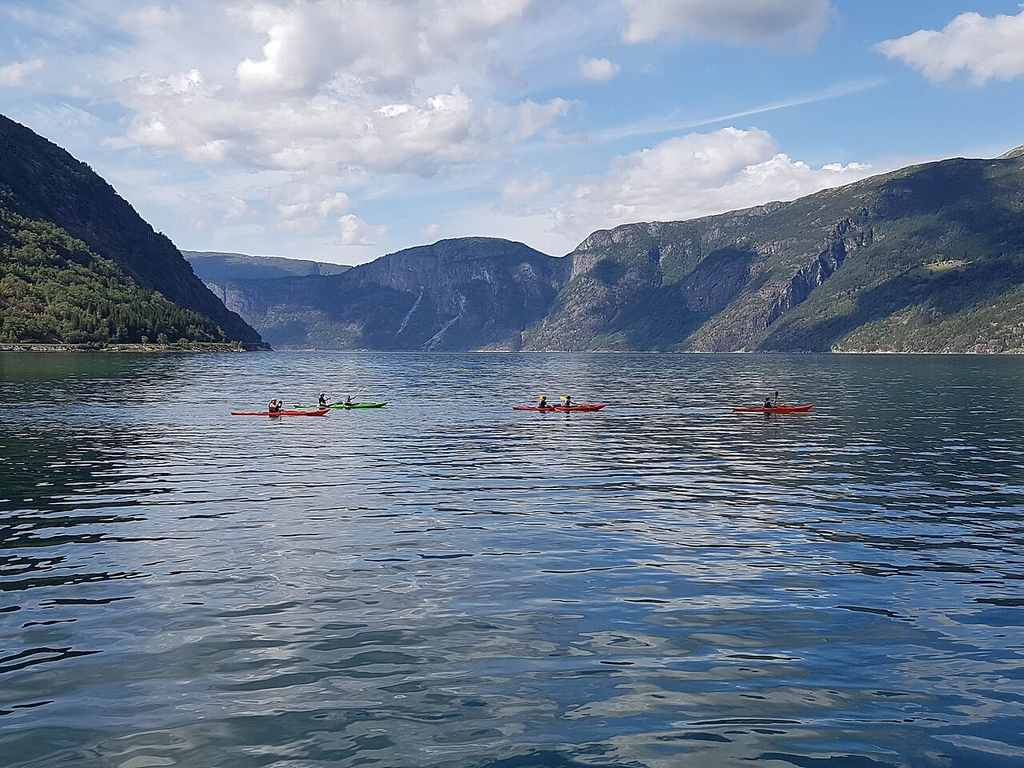
Kayaking is low-risk when you respect the basics. Cut corners on safety, however, and things can go sideways fast – especially on open water.
- Always wear your PFD. Not “have it in the kayak.” Wear it. A life jacket in the storage hatch won’t help you if you capsize unexpectedly. Every state has PFD laws for kayakers, and requirements vary – check your state’s rules on NASBLA’s website.
- Check weather and water conditions before you launch. Wind is a bigger factor than most beginners expect. A 15 mph headwind can turn a casual paddle into an exhausting slog. Thunderstorms on open water are genuinely dangerous. Look at the forecast, check for small craft advisories, and don’t be too proud to postpone.
- Paddle with a buddy. Solo kayaking is fine once you have experience, but for your first few outings, bring a friend or join a group. If something goes wrong – a muscle cramp, a lost paddle, an unexpected current – another person makes a huge difference.
- Start on calm, flat water. A sheltered lake, a slow-moving river, or a protected bay will all work well. Avoid areas with motorized boat traffic, strong currents, or tidal flows until you’re comfortable with your strokes. Never paddle out further than you can reliably swim back.
- File a float plan. Tell someone where you’re going, what route you’re taking, and when you expect to be back. It doesn’t need to be formal – a text message works. If you don’t return on time, someone knows where to start looking.
For more on staying safe on the water, also check out our boating safety tips guide.
How to Book a Guided Kayak Tour
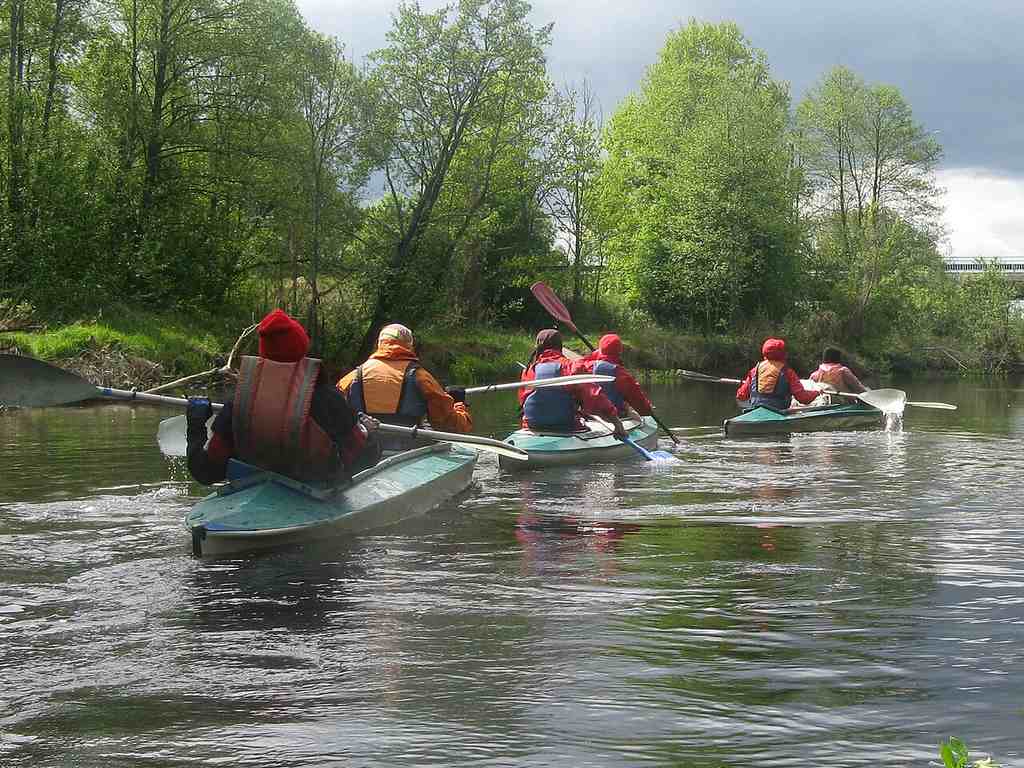
If this guide has you excited but slightly nervous, a guided kayak tour is the perfect first step. You get an instructor who teaches you everything covered in this article – paddle grip, strokes, re-entry – before you even leave the shore. All gear is included, and you’re paddling in a location the guide knows is safe and beginner-friendly.
Guided tours also take you to places worth seeing. Mangrove tunnels, bioluminescent bays, sea caves, coral reefs – these are spots you might not find on your own. Some tours combine kayaking with snorkeling so you get two experiences in one trip. The instruction is built into the price, so you’re not just renting equipment and figuring it out alone.
Best Places to Book a Kayak Tour
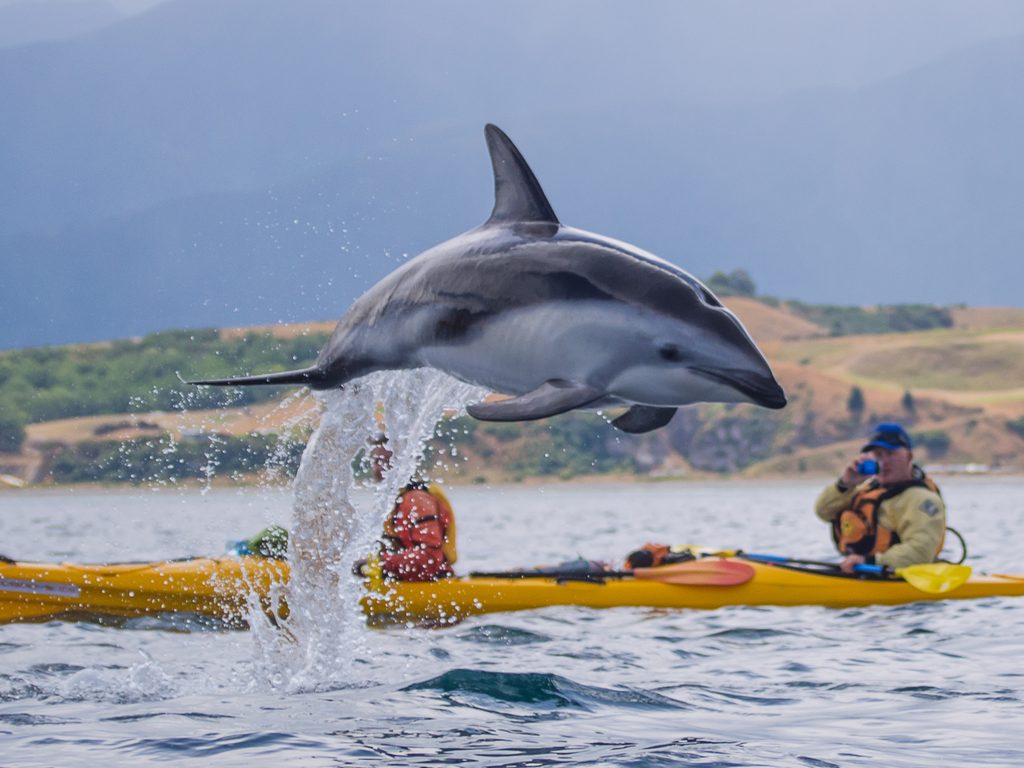
- Key West, Florida – Paddle through mangrove channels and shallow flats full of marine life. The protected waters around the island are calm and warm year-round, making it one of the best spots in the U.S. for first-time kayakers.
- Dubrovnik, Croatia – Kayak along the ancient city walls with views of terracotta rooftops and the Adriatic. Most tours include stops at Lokrum Island and hidden sea caves. The water is clear and sheltered by the coastline.
- Costa Rica – River and ocean kayaking through some of the most biodiverse ecosystems on the planet. Guided tours on the Peñas Blancas River or near Manuel Antonio combine paddling with wildlife spotting – monkeys, toucans, and crocodiles are common sightings.
- Sydney, Australia – Harbour kayak tours put you on the water beneath the Opera House and Harbour Bridge. Morning sessions often have glass-calm conditions, and the guided format means you don’t need to worry about ferry traffic.
- Mallorca, Spain – Sea caves, turquoise coves, and limestone cliffs make Mallorca’s coastline one of the most scenic kayaking destinations in Europe. Tours typically explore the east coast, where the water is calm and crystal-clear.
Browse all available kayak tours on BoatBooker to find guided experiences near wherever you’re traveling.
Frequently Asked Questions about Kayaking
Open ocean kayaking requires experience, proper equipment (a sea kayak with a skirt, navigation tools, and rescue gear), and knowledge of marine weather. A guided coastal tour is the best way to experience ocean kayaking without the advanced skill requirement.
Have you tried kayaking yet – on a guided tour, a solo rental, or a friend’s kayak on a lake? We’d love to hear how your first time went, what surprised you, or any tips you’d pass along to someone who hasn’t tried it yet. And if anything in this guide is outdated or doesn’t match your experience, drop a note in the comments so we can keep it accurate.